JPG to Transparent PNG
Remove a white or solid-colour background while converting JPG to PNG. Ideal for logos, signatures, icons and product shots. Runs in your browser; nothing is uploaded.
Drop JPG images here
or
Batch convert · paste with Ctrl/⌘+V · up to 50 MB per image
🔒 Converted on your device. Nothing is uploaded.
Options Transparent background: on · Compress PNG: on
How to make a JPG background transparent
- Add your imageDrop a JPG with a plain background onto the box, or choose it from your device.
- Check the previewTransparent areas show as a grey checkerboard. If a halo remains, raise the tolerance; if parts vanish, lower it.
- Download the PNGUse it in slides, Canva, Word, a website, or anywhere that supports PNG transparency.
Before and after
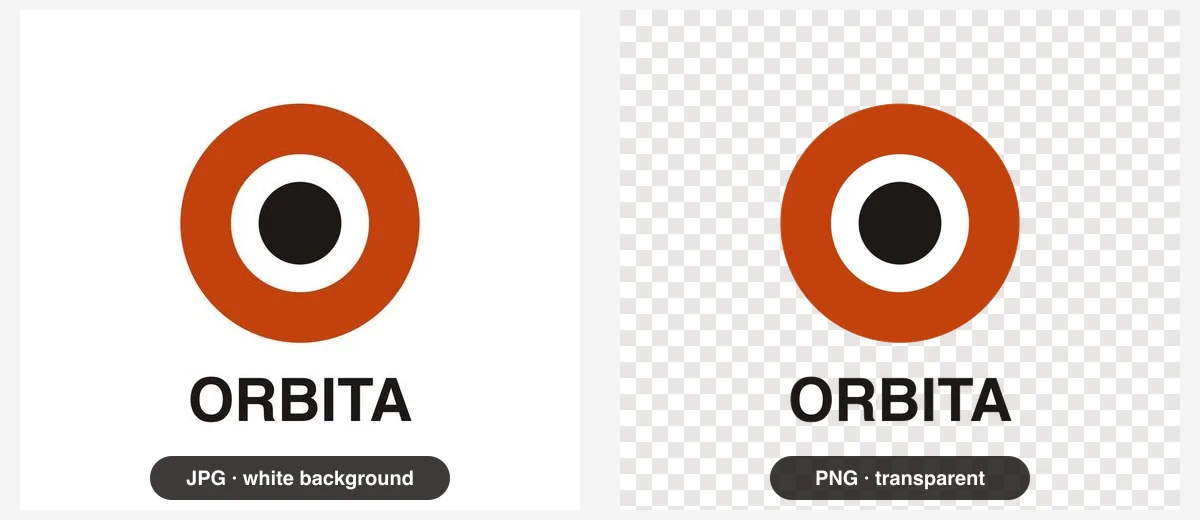
How the background removal works
The tool does not guess what your subject is. It works with colour, which makes it fast, predictable and fully private:
- Find the background colour. In Auto-detect mode it averages a small patch in each of the four corners. You can override this with white, black or any custom colour.
- Measure how close each pixel is. Every pixel's colour is compared with the background colour. The Tolerance slider sets how different a pixel may be and still count as background.
- Decide which matching pixels to remove. With Only remove background touching the edges on, the tool starts at the border of the image and spreads inward through background-coloured pixels, stopping at your subject. Background-coloured areas enclosed by the subject (the white of an eye, the inside of the letter "O") are kept. With it off, every matching pixel anywhere is removed.
- Soften the edge. Pixels just outside the tolerance fade out gradually instead of being cut off, which hides most of the jagged edge left by JPG compression.
What the settings do, measured
We ran our test logo (1000×1000, orange and black on white) and a product shot (an orange ball with a soft shadow on white) through the tool with different settings:
| Setting | Logo: area removed | Logo: inner white ring | Product: area removed |
|---|---|---|---|
| Tolerance 3, edge-only | 75.6% | Kept | 67.1% |
| Tolerance 12, edge-only (default) | 75.8% | Kept | 68.8% |
| Tolerance 30, edge-only | 75.9% | Kept | 71.7% |
| Tolerance 12, all matching pixels | 80.8% | Removed | 68.8% |
Two practical lessons come out of this. First, for clean graphics the tolerance barely matters, so the default is fine. Second, for photos with soft shadows, tolerance decides how much of the shadow survives: at 30 the faint outer part of the shadow disappeared (2.9% more of the image became transparent), while the darker core stayed. Pick the lower value if you want to keep a natural shadow, the higher one for a clean cut-out.
Tips for a clean result
- Start from the best JPG you have. Heavily compressed JPGs have blotchy backgrounds that need a higher tolerance, which then eats into your subject.
- Shoot signatures and drawings in daylight on plain white paper, filling the frame. Shadows from your phone make the background uneven.
- Check the result on the colour you'll use it on. A faint light fringe is invisible on white slides but obvious on dark ones. Raise tolerance for dark destinations.
- Crop first if the corners are not background. Auto-detect reads the corners, so a photo whose subject touches a corner will pick the wrong colour. Choose the colour manually instead.
- Leave "Compress PNG" on. Transparent areas compress extremely well; our test logo was 122 KB as an optimised PNG versus 198 KB from the browser's default encoder.
Want the background to stay? Use the regular JPG to PNG converter. For a deeper explanation of transparency, alpha channels and why JPG can't have them, read How to make a JPG transparent.
Related guides
JPG vs PNG
Lossy vs lossless, transparency, file size and a use-case table that tells you which format to pick for photos, logos, screenshots, web and print.
Read guide →Why PNG files are bigger
We measured how much PNG files grow after conversion, why the browser's PNG is 2–3× bigger than it needs to be, and what actually shrinks it.
Read guide →Does PNG improve quality?
PNG can't bring back detail a JPG threw away, but it stops the damage from getting worse. We measured quality loss over ten edit-and-save cycles.
Read guide →Make a JPG transparent
Why a JPG can never have a see-through background, how alpha channels work, and three ways to get a transparent PNG from a JPG.
Read guide →Convert on any device
Built-in methods for Windows (Paint, Photos), Mac (Preview, Finder, sips), iPhone (Shortcuts), Android, Linux and the command line, including batch conversion.
Read guide →JPG vs JPEG
Same format, different extension. Why both names exist, what .jfif and .jpe files are, and when renaming a file is (and isn't) a real conversion.
Read guide →Frequently asked questions
Can I make a JPG transparent without converting it?
No. The JPG format has no alpha (transparency) channel, so every pixel in a JPG is fully opaque. To get a see-through background you must save the image in a format that supports transparency, such as PNG, WebP or GIF. PNG is the most widely accepted.
Why is there still a thin white outline around my logo?
JPG compression blends the edge of the logo with the background, so edge pixels are a mix of both colours. Raise the Tolerance a few steps to remove more of that blend. If the logo will sit on a dark background, a tolerance of 20–30 usually gives the cleanest edge.
Parts of my image disappeared. What happened?
Either the tolerance is too high, or "Only remove background touching the edges" is switched off and the image contains areas with the same colour as the background (for example white text inside a white-background logo). Lower the tolerance, or switch edge-only mode back on.
Can it remove the background from a normal photo of a person?
Only if the person stands in front of a plain, evenly lit background. This tool removes a colour; it does not recognise people or objects. For busy backgrounds you need an AI cut-out tool, then you can still use this page to convert the result to PNG.
Which background colours can be removed?
Any solid colour. By default the tool looks at the four corners of the image and removes that colour. You can also choose white, black, or any custom colour with the colour picker, which is handy for green-screen style images.
Does it work for signatures?
Yes, signatures are one of the best cases. Photograph or scan your signature on white paper in good light, convert it here with a tolerance around 20–30, and paste the transparent PNG into your document. Everything happens on your device, so the signature image is never uploaded.